
Ah this was a long wait. I made this for Christmas 2014 and its taken 10 months to write this post. I remembered the cook took a fairly long time too as I started late in the morning after church and a hearty breakfast after our fully vegetarian pre-Christmas lent of 24 days. Also I had a couple of eggnog breaks as well in between ;). Still remember how mum was kinda' scolding me over the phone for having started the cook late. Izzy and Anup were happy campers though as they had a ball of a time and over this meal as well. Well it sure was worth the wait! Thanks Jamie for making our Christmas 2014 a special one. He was practically there for the cook as I had to follow his online video to make this one. So yes this recipe is all him!

Mum has a large part to play in my courage to make dishes so hearty and large as these. Don't get me wrong it is not a difficult dish at all to plate up. Just that I wouldn't have the nerve had I not seen her make such large and wonderful festive meals. Love you Mum! You will always be at my side while I cook/bake.

I decided to post this recipe to honour Foodie Extravaganza{Party}'s October event 'Pork'. This is the first event I have joined of Foodie Extravaganza. The first 'Wednesday' of every month, Foodie Extravaganza {Party} hosts a theme based cook-off where food bloggers come together to celebrate the food event of the month from the American National Food Holidays. October's Foodie Extravaganza Pork Party was hosted by the lovely Lauren Mitchell of the blog 'From Gate to Plate'.
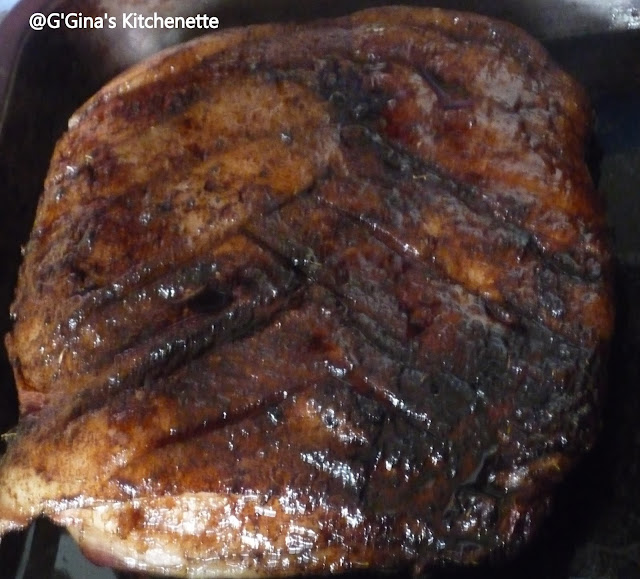
Jamie is right, this is the most perfect pork recipe and is full of flavour as he promised! I did do a twist on his recipe of 'Oozy Beans and Agretti' side that accompanied this pork. That recipe I will share soon enough (hopefully not 10 months from now ;) )!

I have altered the recipe quantities based on the weight of the pork loin that I got from my butcher. Yes and I did get the fat separated from the meat of the loin at the butcher's place. If you do not have that luxury, then do follow Jamie's video here where he displays quite simply how to do the slice off.

You need:
The Make
Serves 12-15 people | Roasting Time: 60-70 minutes | Preparation and Resting Time: 15-20 minutes
Source: Jamie Oliver
1. First score the white side of the fat strip of the loin meat. I did a criss-cross scoring.
2. Rub the skin and meat with the chopped rosemary and thyme leaves along with salt and pepper all around.
3. Use a little EVOO to ensure that the leaves stick to the meat and fat all around.
4. Score the crackling skin with a sharp cooking blade or if you have a sharp pointy kitchen knife you could use the same. Use the tip to form the scores.
5. Put the skin fat side down first on a medium heated non-stick pan and hold for a minute until lightly browned.
6. Using tongs, take out the skin out carefully, and next place the skin side down of the pork meat and lightly brown for a minute . Then turn it over and caramelise the other side as well for about 2 minutes on medium-low heat.
7. Drizzle half a bottle of balsamic vinegar over the caramelising pork meat. Turn it over to coat the meat and then transfer it to a oven-friendly tray and pour all the balsamic vinegar over the top of the pork.
8. Place the garlic cloves into the tray all around.
9. Move the tray to an oven of 180°C . If you have a dual heating oven (top and bottom), you can place the skin on a grill sliding tray on top of the pork tray so all the juices would drip on top of the pork meat keeping it moist all through the cook. If not, you can do what I did and grill the skin separately in another compartment with a spill tray to hold the juices and intermittently using a ladle pour over the cooking pork in the pork tray. This would help create an amazing, simple gravy.
10. Roast over 60-70 minutes, intermittently turning the meat and the skin.
11. Take off the heat Rest the pork in the pork tray with all the juices for 10 minutes. Then take out the pork with a tong or a large fork and place on your serving tray.
12. Pour out the juices from the tray into a jug. You can then see the fat separated atop the jug. You can then take a ladle and scoop up the fat (even if a little gravy comes with it, that's ok) into a storing jar and refrigerate which can be used as a flavoursome stock later on.
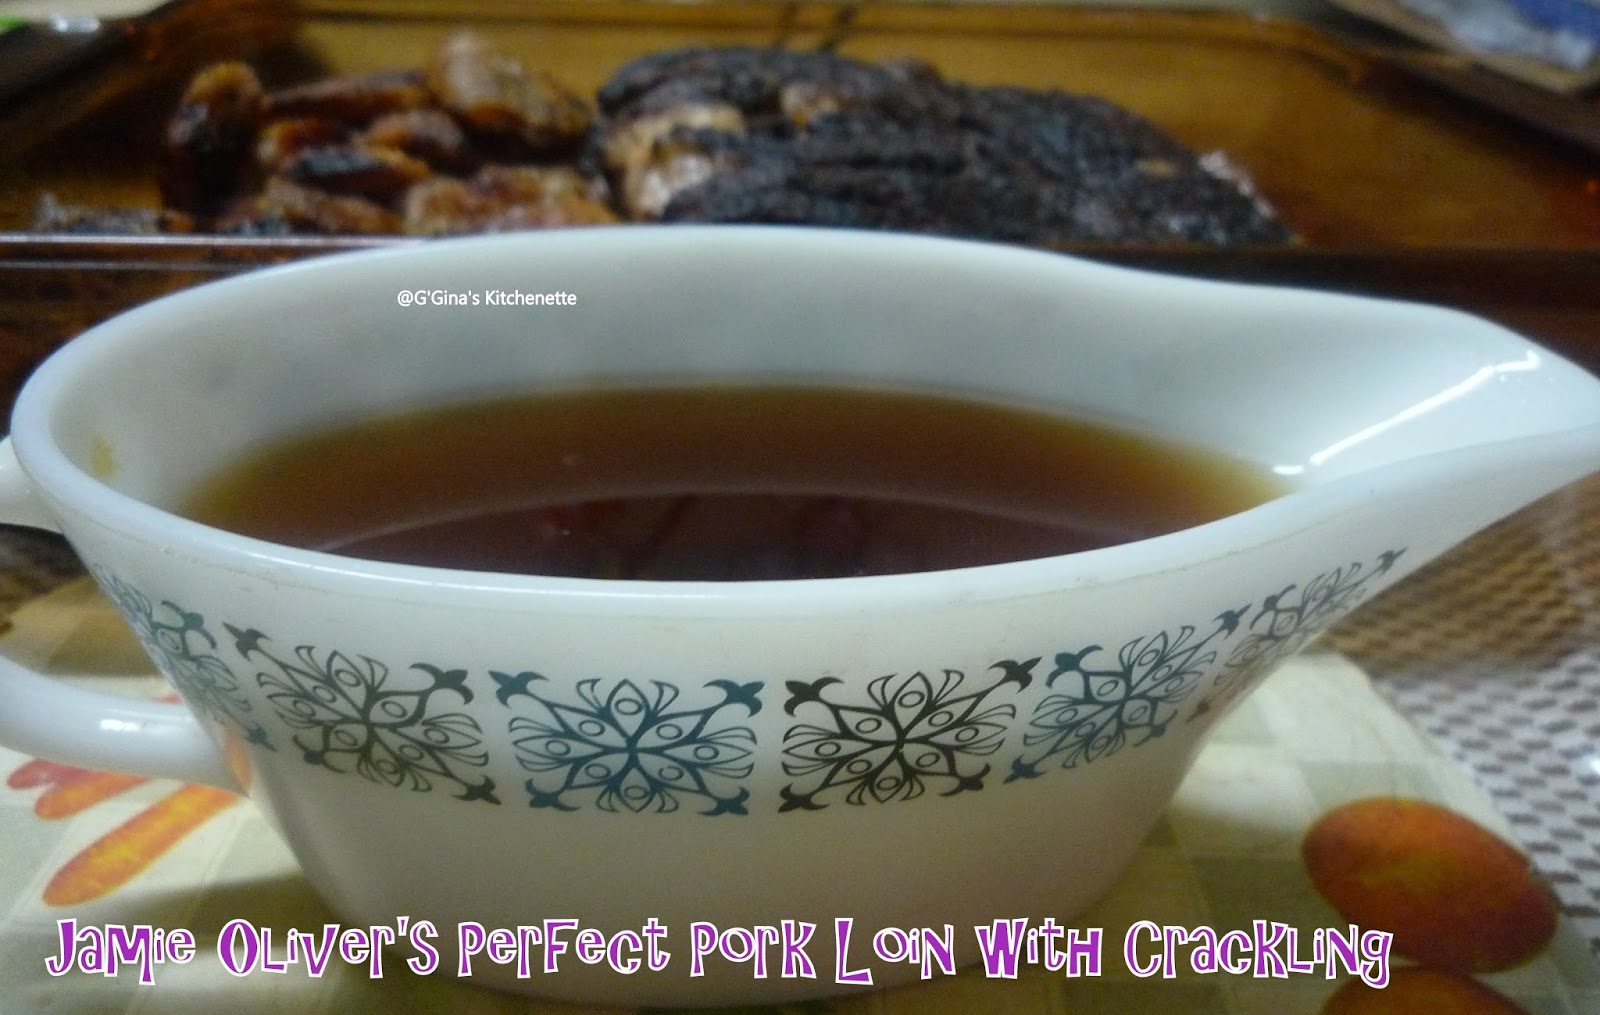
13. Sieve out the juices from the jug, making sure to squeeze the garlic cloves to ensure its flavour comes through. This forms your gravy.
14. Serve your pork meat as a whole or sliced with cracking strips at the side (the earlier scores will help you cut it through) and with some of Jamie's Oozy beans with Agretti or my take of Jamie's recipe of beans (recipe to follow later). Pour over some of that amazing gravy.
And as Jamie said you are sure to hear of this make for years to come!
Bon Appetit!
Some delicious recipes from our fabulous Foodie Extravaganza members:

Mum has a large part to play in my courage to make dishes so hearty and large as these. Don't get me wrong it is not a difficult dish at all to plate up. Just that I wouldn't have the nerve had I not seen her make such large and wonderful festive meals. Love you Mum! You will always be at my side while I cook/bake.
I decided to post this recipe to honour Foodie Extravaganza{Party}'s October event 'Pork'. This is the first event I have joined of Foodie Extravaganza. The first 'Wednesday' of every month, Foodie Extravaganza {Party} hosts a theme based cook-off where food bloggers come together to celebrate the food event of the month from the American National Food Holidays. October's Foodie Extravaganza Pork Party was hosted by the lovely Lauren Mitchell of the blog 'From Gate to Plate'.

Jamie is right, this is the most perfect pork recipe and is full of flavour as he promised! I did do a twist on his recipe of 'Oozy Beans and Agretti' side that accompanied this pork. That recipe I will share soon enough (hopefully not 10 months from now ;) )!

I have altered the recipe quantities based on the weight of the pork loin that I got from my butcher. Yes and I did get the fat separated from the meat of the loin at the butcher's place. If you do not have that luxury, then do follow Jamie's video here where he displays quite simply how to do the slice off.

You need:
- 2 kgs pork loin, fat separated
- 2-3 sprigs each of rosemary and thyme, chopped
- Salt and Pepper to taste
- Drizzle of EVOO (Extra virgin olive oil)
- Half a bottle of balsamic vinegar (about 250 ml)
- 10-12 cloves of garlic with skin on, smashed
The Make
Serves 12-15 people | Roasting Time: 60-70 minutes | Preparation and Resting Time: 15-20 minutes
Source: Jamie Oliver
1. First score the white side of the fat strip of the loin meat. I did a criss-cross scoring.
2. Rub the skin and meat with the chopped rosemary and thyme leaves along with salt and pepper all around.
3. Use a little EVOO to ensure that the leaves stick to the meat and fat all around.
4. Score the crackling skin with a sharp cooking blade or if you have a sharp pointy kitchen knife you could use the same. Use the tip to form the scores.
5. Put the skin fat side down first on a medium heated non-stick pan and hold for a minute until lightly browned.
6. Using tongs, take out the skin out carefully, and next place the skin side down of the pork meat and lightly brown for a minute . Then turn it over and caramelise the other side as well for about 2 minutes on medium-low heat.
7. Drizzle half a bottle of balsamic vinegar over the caramelising pork meat. Turn it over to coat the meat and then transfer it to a oven-friendly tray and pour all the balsamic vinegar over the top of the pork.
8. Place the garlic cloves into the tray all around.
9. Move the tray to an oven of 180°C . If you have a dual heating oven (top and bottom), you can place the skin on a grill sliding tray on top of the pork tray so all the juices would drip on top of the pork meat keeping it moist all through the cook. If not, you can do what I did and grill the skin separately in another compartment with a spill tray to hold the juices and intermittently using a ladle pour over the cooking pork in the pork tray. This would help create an amazing, simple gravy.
10. Roast over 60-70 minutes, intermittently turning the meat and the skin.
11. Take off the heat Rest the pork in the pork tray with all the juices for 10 minutes. Then take out the pork with a tong or a large fork and place on your serving tray.
12. Pour out the juices from the tray into a jug. You can then see the fat separated atop the jug. You can then take a ladle and scoop up the fat (even if a little gravy comes with it, that's ok) into a storing jar and refrigerate which can be used as a flavoursome stock later on.
13. Sieve out the juices from the jug, making sure to squeeze the garlic cloves to ensure its flavour comes through. This forms your gravy.
14. Serve your pork meat as a whole or sliced with cracking strips at the side (the earlier scores will help you cut it through) and with some of Jamie's Oozy beans with Agretti or my take of Jamie's recipe of beans (recipe to follow later). Pour over some of that amazing gravy.
And as Jamie said you are sure to hear of this make for years to come!
Bon Appetit!
Some delicious recipes from our fabulous Foodie Extravaganza members:
- BBQ Pulled Pork with Mac and Cheese Flatbread by From Gate to Plate
- Chili Verde Pork Posole by Culinary Adventures with Camilla
- Freezer-friendly Spicy Pork Burrito by Brunch with Joy
- Healthy Sausage and Rice by Fearlessly Creative Mammas
- Italian Sausage No Crust Quiche by Cookin' and Craftin'
- Jamie Olivier's Pork Roast with Crackling by G'Gina's Kitchenette
- Mojo Shredded Pork with Black Beans and Rice by Our Good Life
- Parmesan Spinach Stuffed Pork Loin by Cooking with Carlee
- Pork and Apple Pie by A Day in the Life on the Farm
- Pork Chops with Spiced Apples by Sew You Think You Can Cook
- Pork Meatball Mini Subs by The Freshman Cook
- Pork Schnitzel by Making Miracles
- Spicy Sticky Pork Ribs by Food Lust People Love
- Sweet and Sour Pork by Tara's Multicultural Table
- Thai Basil Meatballs with Peanut-Basil Sauce Two Ways by Caroline's Cooking

Thanks for joining us this month and hope you come back to see what we're celebrating next month! ;)


