"This is a journey of my life since I was all of 12 yrs when I started my hand in cooking to now with displays of my learning and creations of recipes from around the world. My inspiration and role model has always been my Mum who has always created dishes from around the world and excellently well. I do not believe I would ever match to her culinary skills. I remember the times she could cook and bake almost 4-5 dishes in one go without ever letting one go under cooked or burnt! I was born and raised in Dubai, UAE and recently moved to India for family reasons. Kitchenette just means that over the decades, my kitchen has changed from that of my mum's to my uncle and aunt's, to my home in UAE and now in India. Pala't'te, describes both global cuisines ('Palatte'-diverse flavours) and pleasing diverse 'Palates'."
Showing posts with label Rosemary. Show all posts

Friday, 18 December 2015

Mediterranean style Roasted Chicken with Garlic basted Roasted veggies


For a new twist to your traditional Christmas home roast, why not try a Mediterranean one.


Living and working in the Middle East esp. the cosmopolitan Dubai, you get to meet a whole lot of people from all over the world.


I have a fair share of friends from all over the Middle East. Learning their cultural cuisines was one of my favourite learning. So I did get a lot of recipes and tips from them.


This one is for the adventurous YOU who just doesn't want a traditional Christmas roast but exploring each year and wow-ing your guests and loved ones each time.


What you need:

For the Marinade


  • 1 lemon
  • 1 cup of Tomato paste or puree 
  • 1/2 tbsp paprika
  • 1/2 tbsp coriander powder (freshly powdered from coriander seeds)
  • A mix of herbs such as Marjoram,Oregano,Sumac,Thyme and Rosemary
  • 1/2 tsp cumin powder (freshly powdered from cumin seeds)
  • 1 tbsp Salt

Other ingredients:

  • Whole spices such as Bayleaf, Cinnamon, cloves
  • 5-6 Garlic cloves - crushed
  • 4-5 medium sized potatoes (skin-on), cleaned well
  • 1200 gms chicken (skin-on)
  • Extra virgin olive oil (EVOO)
  • 2-3 tomatoes, chopped
  • Shallots/Onions, chopped


The Make:

Preparation time: 10 minutes | Cook Time: 15 minutes | Roasting Time: 1-1 hr and 20 minutes

1.Boil the potatoes with a few stabs in between (no need to cut them now) until half boiled. You can added carrots or other veggies too if you like.

2.Slit the chicken on all sides esp. legs taking care not to cut too much into the meat. On a non-stick roasting pan, add 2 tbsp EVOO, and brown the chicken on all sides, esp the legs as they take longer to cook.

3.Then wait for the chicken to cool down a bit and then add the whole spices in the roasting pan around the chicken. Also place the shallots around in the pan. Rub the marinade well on the chicken and in the cavity and into the slits made earlier.

4. Boil a lemon whole for 5-10 minutes. The larger lemons (not available here) need 10 minutes. Next stab in a couple of times around the lemon and stuff it into the cavity of the chook.

5. Toss in the boiled potatoes cut in quarters.

6. Roast chicken on wire rack (optionally) with the same roasting pan below at 150°C for an hour and then up to 20 minutes on 180°C breast side facing down until the skin is nicely crisp.

7. Meanwhile, to prep the roasted potatoes crush 5-6 cloves of garlic using a mortar and pestle (you can also use an electric grinder) add a little EVOO and further crush to a creamy garlic paste.


8. Add a dash of salt and marinade chopped tomatoes with the creamy paste. When the chook is ready, place the potatoes on a serving dish, pour the garlic paste with tomatoes and some of the juices from the roasting pan.

9. Add some lemon juice from the lemon from the chook's cavity and toss well.

Serve the roasted potatoes on the side of the chicken with some hummus and white rice if you need.


Bon Appetit! Hope you liked our Mediterranean style Christmas Chicken roast!

Try G'Gina's Kitchenette's Hummus recipe here

Wednesday, 7 October 2015

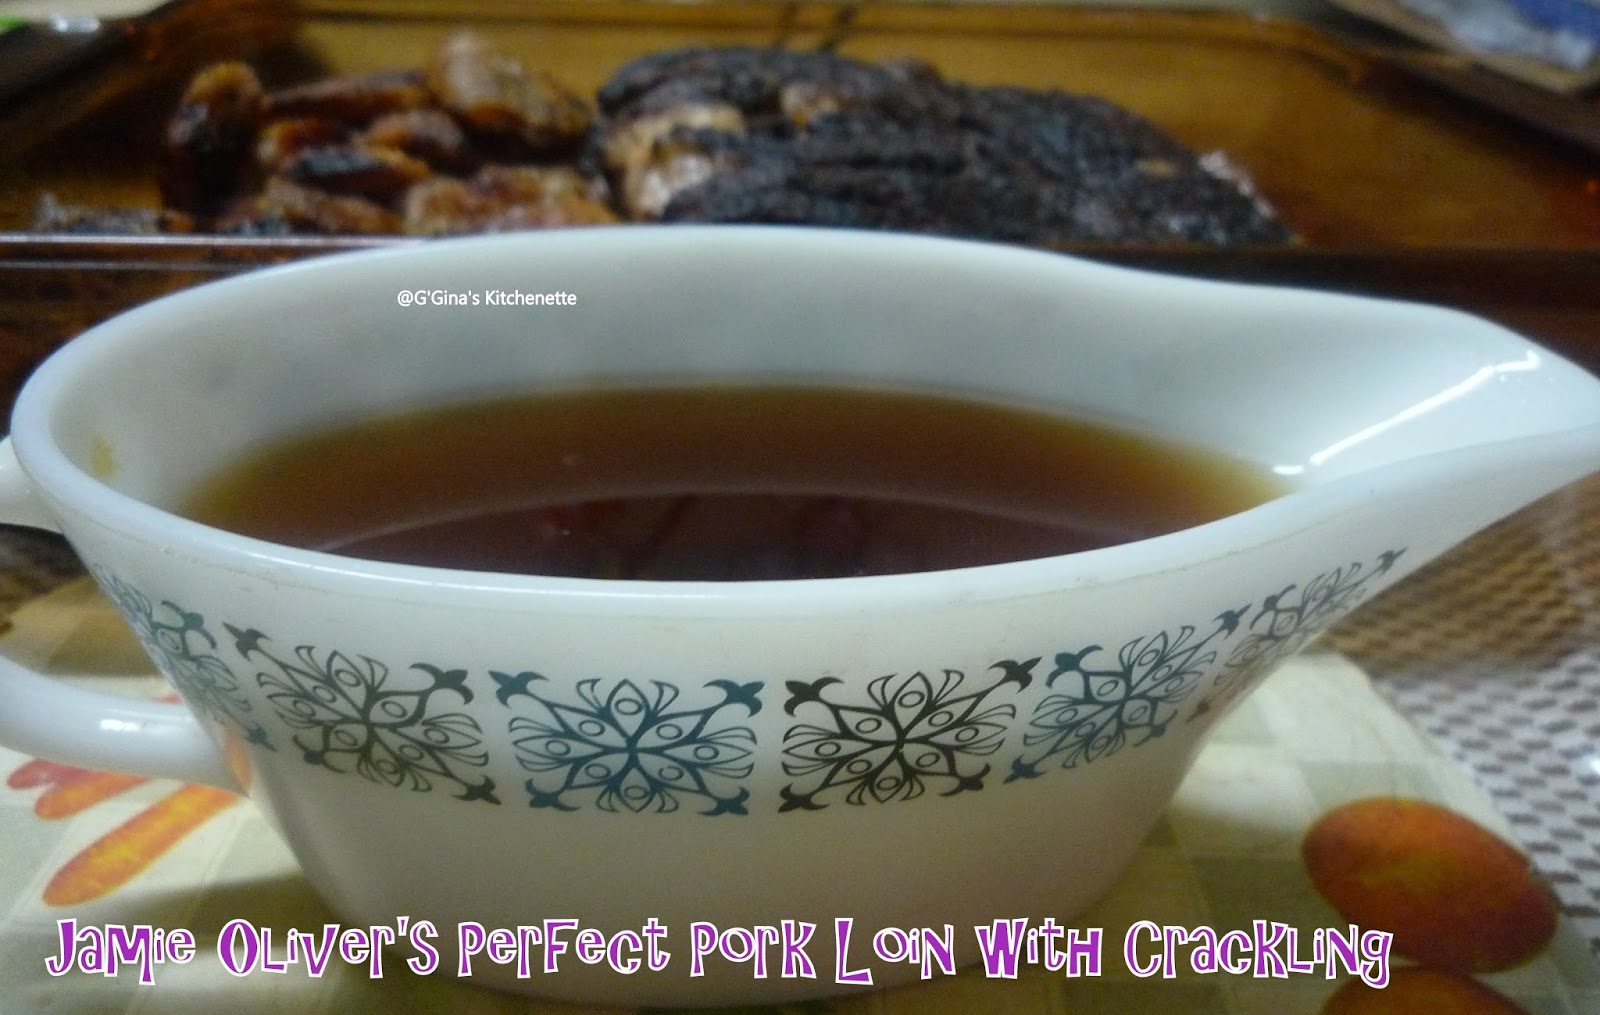
Jamie Oliver's Perfect Pork Loin with Crackling #FoodieExtravaganza

Ah this was a long wait. I made this for Christmas 2014 and its taken 10 months to write this post. I remembered the cook took a fairly long time too as I started late in the morning after church and a hearty breakfast after our fully vegetarian pre-Christmas lent of 24 days. Also I had a couple of eggnog breaks as well in between ;). Still remember how mum was kinda' scolding me over the phone for having started the cook late. Izzy and Anup were happy campers though as they had a ball of a time and over this meal as well. Well it sure was worth the wait! Thanks Jamie for making our Christmas 2014 a special one. He was practically there for the cook as I had to follow his online video to make this one. So yes this recipe is all him!


Mum has a large part to play in my courage to make dishes so hearty and large as these. Don't get me wrong it is not a difficult dish at all to plate up. Just that I wouldn't have the nerve had I not seen her make such large and wonderful festive meals. Love you Mum! You will always be at my side while I cook/bake.


I decided to post this recipe to honour Foodie Extravaganza{Party}'s October event 'Pork'. This is the first event I have joined of Foodie Extravaganza. The first 'Wednesday' of every month, Foodie Extravaganza {Party} hosts a theme based cook-off where food bloggers come together to celebrate the food event of the month from the American National Food Holidays. October's Foodie Extravaganza Pork Party was hosted by the lovely Lauren Mitchell of the blog 'From Gate to Plate'. 


Jamie is right, this is the most perfect pork recipe and is full of flavour as he promised! I did do a twist on his recipe of 'Oozy Beans and Agretti' side that accompanied this pork. That recipe I will share soon enough (hopefully not 10 months from now ;) )!


I have altered the recipe quantities based on the weight of the pork loin that I got from my butcher. Yes and I did get the fat separated from the meat of the loin at the butcher's place. If you do not have that luxury, then do follow Jamie's video here where he displays quite simply how to do the slice off.


You need:
  • 2 kgs pork loin, fat separated
  • 2-3 sprigs each of rosemary and thyme, chopped
  • Salt and Pepper to taste
  • Drizzle of EVOO (Extra virgin olive oil)
  • Half a bottle of balsamic vinegar (about 250 ml)
  • 10-12 cloves of garlic with skin on, smashed


The Make
Serves 12-15 people | Roasting Time: 60-70 minutes | Preparation and Resting Time: 15-20 minutes

Source: Jamie Oliver

1. First score the white side of the fat strip of the loin meat. I did a criss-cross scoring.
2. Rub the skin and meat with the chopped rosemary and thyme leaves along with salt and pepper all around.
3. Use a little EVOO to ensure that the leaves stick to the meat and fat all around.
4. Score the crackling skin with a sharp cooking blade or if you have a sharp pointy kitchen knife you could use the same. Use the tip to form the scores.
5. Put the skin fat side down first on a medium heated non-stick pan and hold for a minute until lightly browned.
6. Using tongs, take out the skin out carefully, and next place the skin side down of the pork meat and lightly brown for a minute . Then turn it over and caramelise the other side as well for about 2 minutes on medium-low heat.
7. Drizzle half a bottle of balsamic vinegar over the caramelising pork meat. Turn it over to coat the meat and then transfer it to a oven-friendly tray and pour all the balsamic vinegar over the top of the pork.
8. Place the garlic cloves into the tray all around.
9. Move the tray to an oven of 180°C . If you have a dual heating oven (top and bottom), you can place the skin on a grill sliding tray on top of the pork tray so all the juices would drip on top of the pork meat keeping it moist all through the cook. If not, you can do what I did and grill the skin separately in another compartment with a spill tray to hold the juices and intermittently using a ladle pour over the cooking pork in the pork tray. This would help create an amazing, simple gravy.
10. Roast over 60-70 minutes, intermittently turning the meat and the skin.
11. Take off the heat Rest the pork in the pork tray with all the juices for 10 minutes. Then take out the pork with a tong or a large fork and place on your serving tray.
12. Pour out the juices from the tray into a jug. You can then see the fat separated atop the jug. You can then take a ladle and scoop up the fat (even if a little gravy comes with it, that's ok) into a storing jar and refrigerate which can be used as a flavoursome stock later on.
13. Sieve out the juices from the jug, making sure to squeeze the garlic cloves to ensure its flavour comes through. This forms your gravy.
14. Serve your pork meat as a whole  or sliced with cracking strips at the side (the earlier scores will help you cut it through) and with some of Jamie's Oozy beans with Agretti  or my take of Jamie's recipe of beans (recipe to follow later). Pour over some of that amazing gravy.

And as Jamie said you are sure to hear of this make for years to come!

Bon Appetit!

Some delicious recipes from our fabulous Foodie Extravaganza members:

Wednesday, 22 April 2015

Roasted beef chunks with baked potatoes and buttered steamed veggies

Post #Lent the #Beef #recipe creations were the first to come out! I felt like cooking up something English. British do enjoy their beef and potatoes and is so uniquely prepared as well. Perhaps they have left some flavours of their cuisine on our genetic taste buds before leaving India. We thoroughly enjoy beef and potatoes if cooked/baked or roasted well. It just leaves a sublime appealing flavour on the palatte.


To enjoy this recipe, do make sure you get a fresh and clean cut of tender beef from your local butcher otherwise you would find yourself chewing at the pieces all day long.


This can make for a good supper when you want to keep it light and/or free of carbs.

You need:

  • 500 gms of beef, cleaned well and cut into 1" cubes
  • 2 large potatoes, sliced thinly
  • 4 cloves of garlic, crushed
  • Drizzle of Worcestershire sauce
  • Black Pepper powder -  as required
  • Salt to taste
  • Rosemary - 2-3 sprigs
  • Thyme leaves - 2 sprigs
  • 1-2 small tomatoes, diced (optional)
  • Oil
  • 1 tbsp Duck fat (optional, I had some duck fat from the duck roast that I strained and refrigerated. I will share the duck roast recipe soon.)

The Make:
Preparation Time: 15 minutes | Cooking Time: 1 hr | Serves 2 adults

1. In a pan, drizzle some oil, add the garlic and beef along with a little salt and pepper.
2. Brown the beef cubes on all sides. Add the Worcestershire sauce and toss well.
3. Preheat the oven to 180 °C.
4. In a roasting pan, add the beef, tomatoes (optional) along with remaining salt and pepper and the rosemary leaves.


5. Layer the potato slices on top and add some thyme leaves on top. Add a drizzle of oil on top or the duck fat.


6. Cover the roasting pan with a tin foil and place in the oven. 
7. Roast for 45 minutes to 1 hour until cooked tender.
8.  Serve with a side of Steamed Buttered Veggies.

Serve hot. You could also serve with a choice of your favourite dinner rolls.

Bon Appetit!


Saturday, 17 January 2015

Crunchy Rosemary and Honey Soda bread


This is by far the easiest bread recipe I have ever tried! I had handwritten it a while ago but only had the time to make it now.


Necessity is the mother of invention. Anup was away on work travel. I did not have a chance to step out of the home to buy store bought rolls, bread and had some extra kitchen time in between cooking the mains so what did I do when I realised I did not have yeast or any rising agents other than soda bicarbonate, look for the next best option! Which truly was the best option where it came to this recipe.


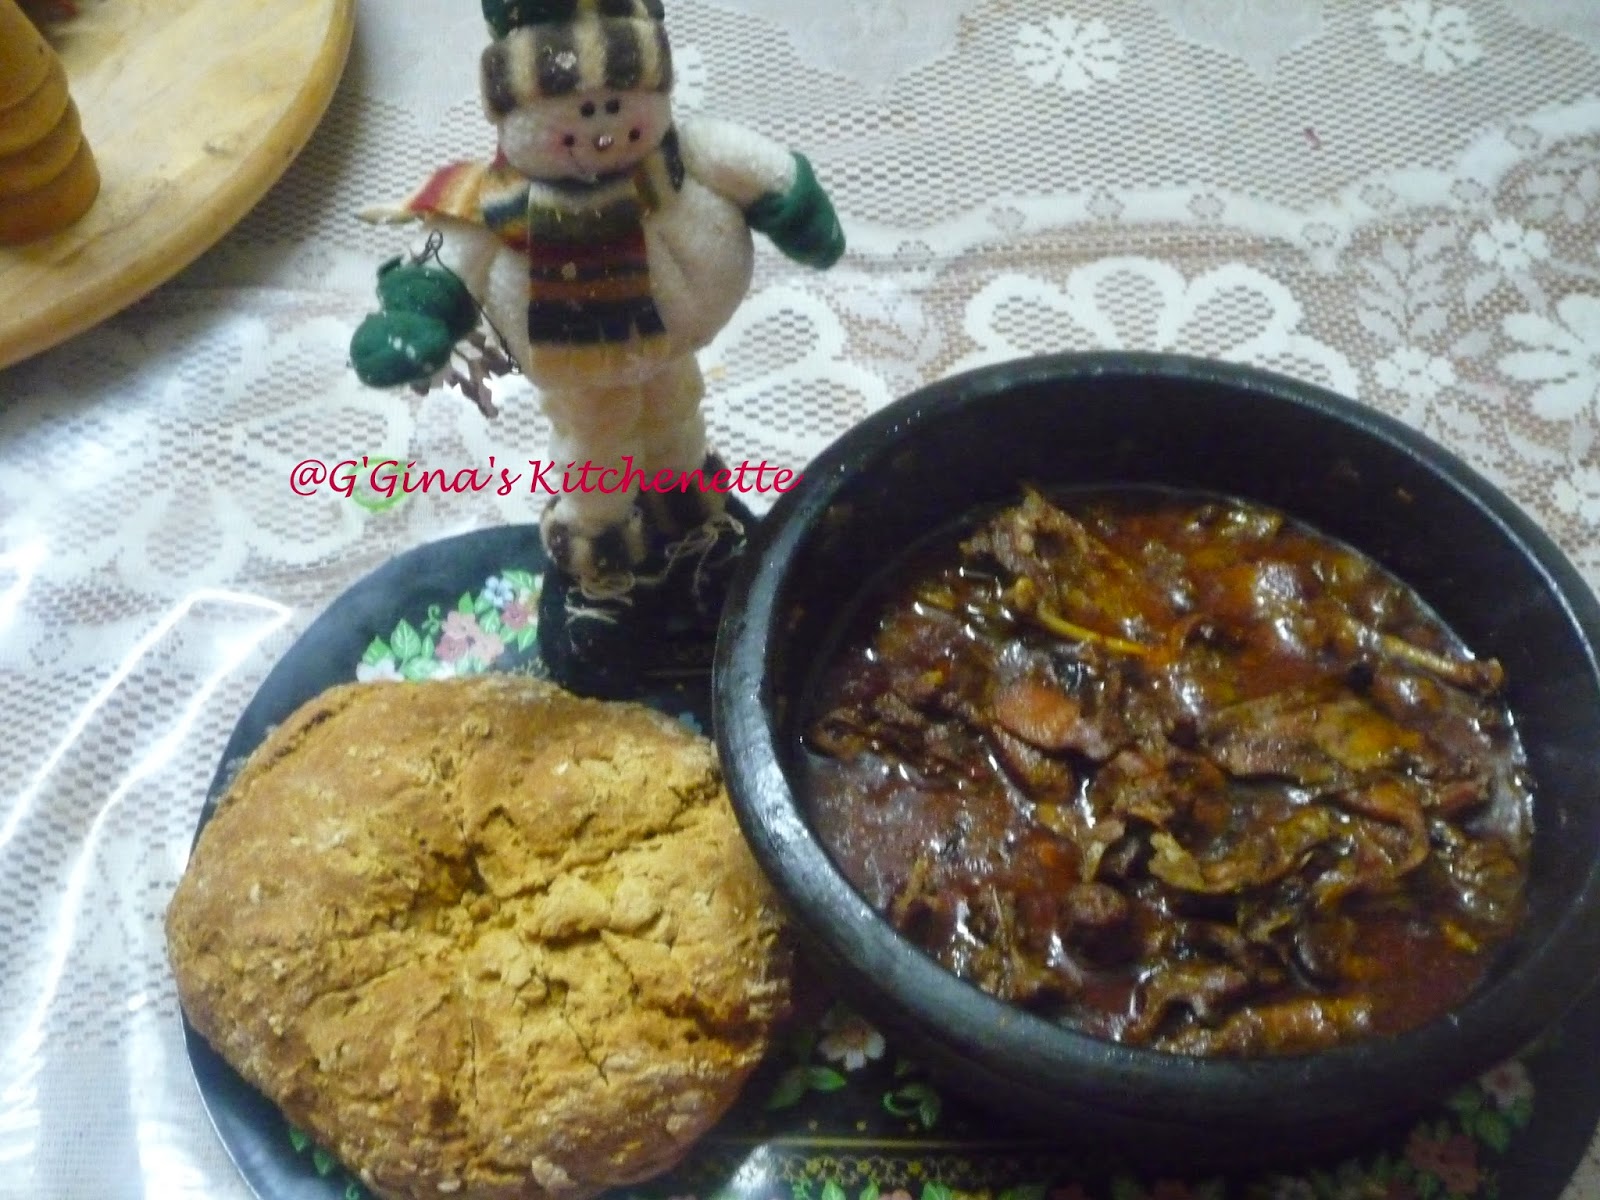
You can have it with melted butter, olive oil with some Mediterranean herbs or if you like sweeter options maple syrup, honey drizzle or jelly/jams or even peanut butter. I made this bread over Christmas Eve and we dunked it into some savoury Slow cooked duck gravy! Yumm! I will share the duck recipe soon as well.


This bread is best had immediately out of the oven so make sure you have your accompaniments of your choice ready to go and this is the last thing you take out from the oven. Crispy and crunchy on the outside, this is the bread to go when the weather outside is cold / chilly even! Hope you enjoy this bread as much as we did!


You need:

  • 400 gms of whole wheat flour or multigrain wheat flour
  • 475 gms of maida/plain flour
  • A pinch of salt
  • 8 tbsps of natural honey (if you do not have this you can use store bought varieties too)
  • 2 sprigs of rosemary or dried rosemary (in case you do not have the option for fresh varieties)
  • 600 ml buttermilk
  • 1 tsp of soda bicarbonate


The Make:
Serves 4 adults | Preparation time: 5 minutes | Cooking time: 40-45 minutes

1. Preheat your oven to 210°C
2. If you are using dried rosemary, you can use it directly from the air tight bottle. Otherwise remove the rosemary from the stalks and set aside.
3. In a large mixing bowl, mix the whole wheat flour with the plain flour, rosemary and salt.
4.Add the buttermilk and honey. Mix well till you get a soft dough. Next turn the soft dough onto a floured surface and knead well to a smooth mix.
5. Shape into two round loafs and stick a knife into the top of one loaf and cut a cross and then cut into another cross till you see eight triangles. Repeat for the second loaf.
6. Using a metal spatula carefully scoop each loaf onto lightly floured baking trays.
7. Bake for 30-40 minutes each. Bake test is to tap the base of the loaf lightly to hear a hollow sound.
8. Rest for 5-10 minutes. If you are not a fan of crusty bread, then wrap the loaf in a damp kitchen/tea towel.


Serve hot! Bon Appetit!

Thursday, 13 December 2012

Turkey Roast Delight- A Thanksgiving Special for Christmas!

Seasons Greetings all! Its a season to be jolly...falalalala...lalalala! Hope you have not been too naughty this year! ;)

Thanksgiving is celebrated in various parts of the world. Although we do not celebrate Thanksgiving, Turkey used to feature in our Christmas lunches at home almost every Christmas and I would like to share this attempt at Turkey that I tried my hand in after arriving to India. I must say it was a task as we did not get the prepared Butterball variety. So I actually had a tedious turkey cleaning process last Christmas.

This is the first of my Christmas recipes for this year. Hope you enjoy making them. My guests certainly enjoyed the meal I whipped up for them last year.

Mummy's cooking always woos us and her Turkey lunches for Christmas is greatly missed..sigh! After moving to India, I don't think she has had the chance to make us her famous Christmas meal although whatever she makes is amazing!

I had made an elaborate Christmas dinner last year that I seriously had no time to reach out for my cam nor click the Turkey in its full form although it would have been worth it after the immense effort I went through in making this bird. I do hope I get a chance to post the Turkey picture in whole the next time I roast one. So please excuse me this time.

To make this delightful Turkey meal,

You need:

For the Turkey roasting:

  • 3 kgs of Turkey (Butterball usually has a conversion of lbs to number of servings, however after much research, I came up with a 1:2 ratio, so 3 kgs of turkey would serve 6-7 adults. Necessity is a mother of invention would rightly apply in this case)
  • Olive oil or melted butter
  • 1 large shallot
  • 1 leek stem finely diced (optional)
  • 2-3 carrots, half diced for stuffing and rest for topping (when served)
  • 1 bunch of celery
  • 1 half boiled potato, quartered (optional)
  • 1 bunch of fresh parsley
  • Sprigs of thyme or rosemary (you can also use a combination of both)
  • Juice of 1 lemon
  • 1 tbsp of paprika
  • Salt and pepper to taste
* Mum would usually not add the celery, rosemary or thyme but I added it for extra flavour.

The make:

Preparation Time: overnight + 1 hour | Cooking Time: 3-3.5 hours | Serves 6-7 adults

Tip:Remember to defrost the turkey overnight or the morning of as it does take time to bring it to room temperature. While doing so some tips to remember, let the turkey defrost in the packing/plastic in the refrigerator (not freezer) on a separate pan overnight so the juices would be confined to the pan. Do not immerse in hot water to speed up the process as the skin would pull away. If you are defrosting it the morning of, then you can leave it to defrost outside, just make sure you keep it the pan itself and cover with a net or a foil sheet to avoid contamination. Clean the turkey as if you were cleaning chicken and remove any left over feathers or stubs. In case of stubborn stubs like I found in the one I got last Christmas, use a new scrubber (which you can discard after use to light scrub the stubs out and/or pick out with previous washed and sterilised tweezers or just use a new pair of tweezers). Pat dry with paper towels. Reserve the spare parts such as the neck and giblets(heart, liver, gizzard) to make stock for the stuffing.


  1. Marinate the turkey with the juice of half a lemon both on the inside and oil. Next rub on some of  the olive oil or butter  and some pepper and salt both on the inside and out.
  2. Preheat the oven to 215C (approx 400F).
  3. Stuff the inside of the turkey with the carrots, tops and bottom of the celery, sprig of thyme and a sprig of rosemary, half of the shallot - peeled and quartered, diced bunch of parsley, half of the carrots diced, the potato and leek. Add a ball of foil paper in the body cavity to prevent the stuffing from falling out. Next carefully tie the legs of the turkey with a kitchen string (avoid colored string or any other strings other than the ones used for roasting as you may end up like Bridget Jones with a coloured turkey bottom or maybe in whole!). You can also use metal skewers to close up the turkey cavity.
  4. Stuff the turkey neck with some parsley and rosemary sprigs and close it up with string and thin skewers. Make sure to fasten the turkey wings with a string around the body.
  5. Rub more butter or olive oil on the outside of the turkey with a good sprinkle of salt and pepper and/or paprika.
  6. Now depending on the type of oven you use, flip the turkey on its breast side first or the roasting  rack with a roasting tray at the bottom of the rack to retain the juices that drip from the turkey. The idea behind this is to ensure that the turkey breast retains the juices of the turkey and is succulent. Add sprigs of thyme and/or rosemary to the outside of the turkey as well for extra flavour.
  7. Now cook the turkey on a high 215C (approx 400F) for the first half hour. For the next two hours, reduce it to 200C and for the last hour at 180C. You can flip the bird on its back on a high of 250C for about 3-5 minutes, in case you want the breast side slightly more brown. You can either monitor the temperature of the turkey using a meat thermometer or just use a butter knife to insert into the breast, the juices should be clear and not pinkish. Once you take out the turkey from the oven, wait about 10-15 minutes before you carve the meat.
  8. Serve on a bed of cleaned romaine lettuce with remaining diced carrots, rosemary/thyme sprig and with choicest rolls or spiced rice of your choice! Serve with Turkey Stuffing and Gravy! Enjoy!