This is by far the simplest and most flavoursome rice preparation ever. I made this preparation, this afternoon and served it with Thai Chicken in Kumquat Sauce.
I had made some Fish Stew earlier and served it with the Thai Coconut Rice as well. It goes well with the Stew as well. I will share the Fish Stew recipe sometime this week.
To make this simple rice,
You need:
 |
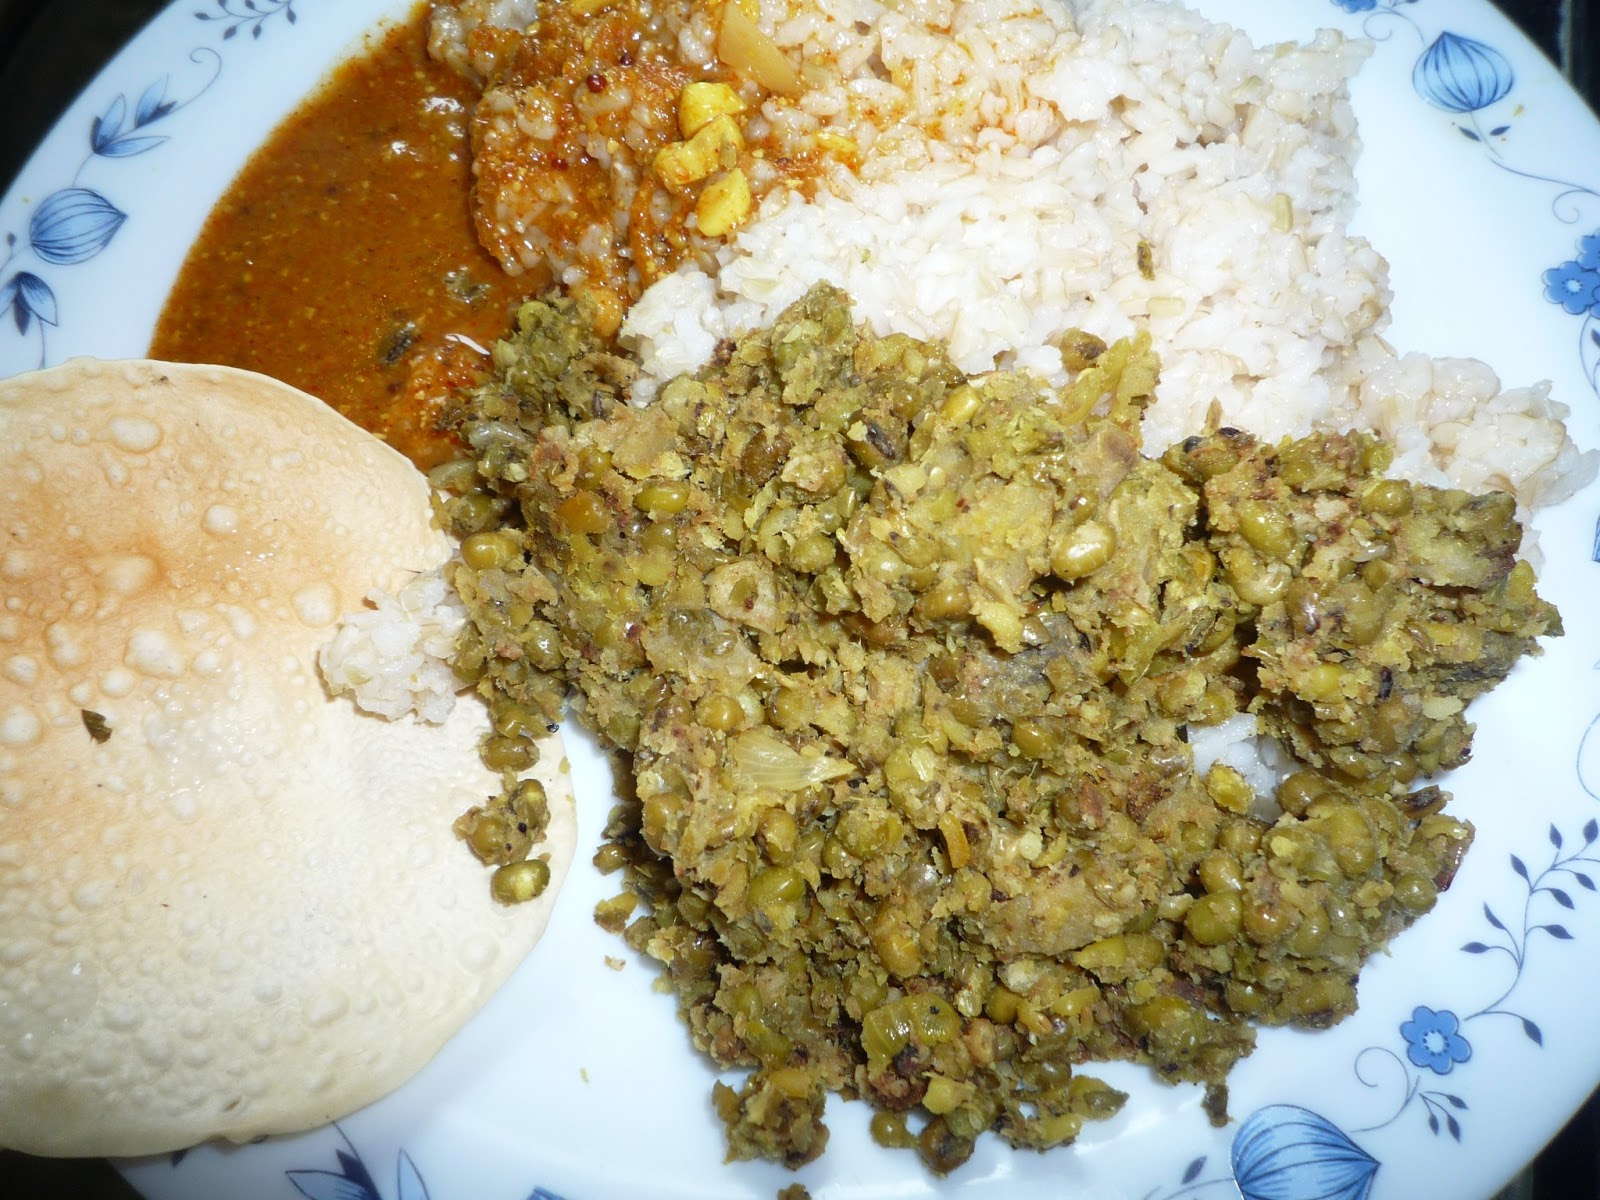
| Thai Coconut Rice with Thai Chicken in Kumquat Sauce |
I had made some Fish Stew earlier and served it with the Thai Coconut Rice as well. It goes well with the Stew as well. I will share the Fish Stew recipe sometime this week.
 |
| Thai Coconut Rice with Fish Stew |
To make this simple rice,
You need:
- 400 gms of Basmati Rice or Jasmine Rice
- 3 cups of coconut milk (you can also use the reduced fat version in a can)
- 3 cups of boiling water
- 1 tsp salt
The Make
Serves 3-4 | Preparation Time: 10 minutes (if fresh Coconut milk is used) | Cooking Time: 10 minutes
1. In a deep bottomed pan, place the rice, water, coconut milk, salt and bring to a boil over medium heat.
2. Then reduce the heat to low and cover and cook for 10 minutes or until the liquid is reduced or absorbed.
3. Fluff with a fork and remove from heat.
 |
| Thai Coconut Rice |
Serve with Thai Chicken in Kumquat Sauce. This rice also goes well with Indian curries as well.
 |
| Thai Coconut Rice with Thai Chicken in Kumquat Sauce |