"This is a journey of my life since I was all of 12 yrs when I started my hand in cooking to now with displays of my learning and creations of recipes from around the world. My inspiration and role model has always been my Mum who has always created dishes from around the world and excellently well. I do not believe I would ever match to her culinary skills. I remember the times she could cook and bake almost 4-5 dishes in one go without ever letting one go under cooked or burnt! I was born and raised in Dubai, UAE and recently moved to India for family reasons. Kitchenette just means that over the decades, my kitchen has changed from that of my mum's to my uncle and aunt's, to my home in UAE and now in India. Pala't'te, describes both global cuisines ('Palatte'-diverse flavours) and pleasing diverse 'Palates'."

Thursday 31 May 2012

Penne Rigate Pasta Vegetable Soup with Parmigiano-Reggiano

Another inspiration brought back from our visit to Italy! I tried this earlier with Gruyere Cheese but I think Gruyere goes better with other kinds of soups like French Onion and the like!

You need:


  • 2 cups of fresh vegetables - cubed carrots, diced cabbage, chopped celery, green peas(optional), cooked and drained kidney beans, chopped green beans)
  • 2 cups of cooked Penne Rigate Pasta
  • 3 cloves of garlic minced or grated
  • 1 peeled and diced tomato (place the tomato in boiling water for a minute and run under cool water to enable the peeling process)
  • 1/2 tbsp dried parsley
  • 1/2 tsp dried basil
  • 1/2 tsp Oregano (optional)
  • 1 cup tomato puree ( http://gginaflavorspalatte.blogspot.in/2012/05/homemade-tomato-puree.html)
  • Salt to taste
  • 1 block of Parmigiano-Reggiano
  • Drizzle of Extravirgin (I used Extravergine Albano) olive oil
  • 2 cups of boiled, cooked water
  • 1 cube of veg stock (or beef or chicken as per your choice). You can also make this from scratch or avoid it as the veggies will bring out the flavor in the soup.
  • 1 egg - beaten with 1/2 tbsp dried parsley, grated parmesan and some pepper


Method:

Cooking Time: 20-30 minutes| Preparation Time: 5 minutes| Serves 2 adults

1. Add a drizzle of olive oil in a deep-bottomed non-stick pan.

2. Saute the veggies(except the kidney beans) and half cook.

3. Add 2 cups of boiled cooled water and stock cube.

4. Add the diced tomatoes and puree, followed by the dried parsley, basil and oregano(optional) and salt and pepper. Cover the lid and run to a boil.

6. Lower the heat, uncover and slowly add the egg stirring all the time.

7. Add the beans and pasta and saute well. Do a seasoning taste test and add more salt or pepper if required.  

Penne Rigate Pasta Vegetable soup topped with Parmigian Reggiano
8. Serve into two bowls and grate some parmigian reggiano over each bowl of soup. Your soup is ready to be served!

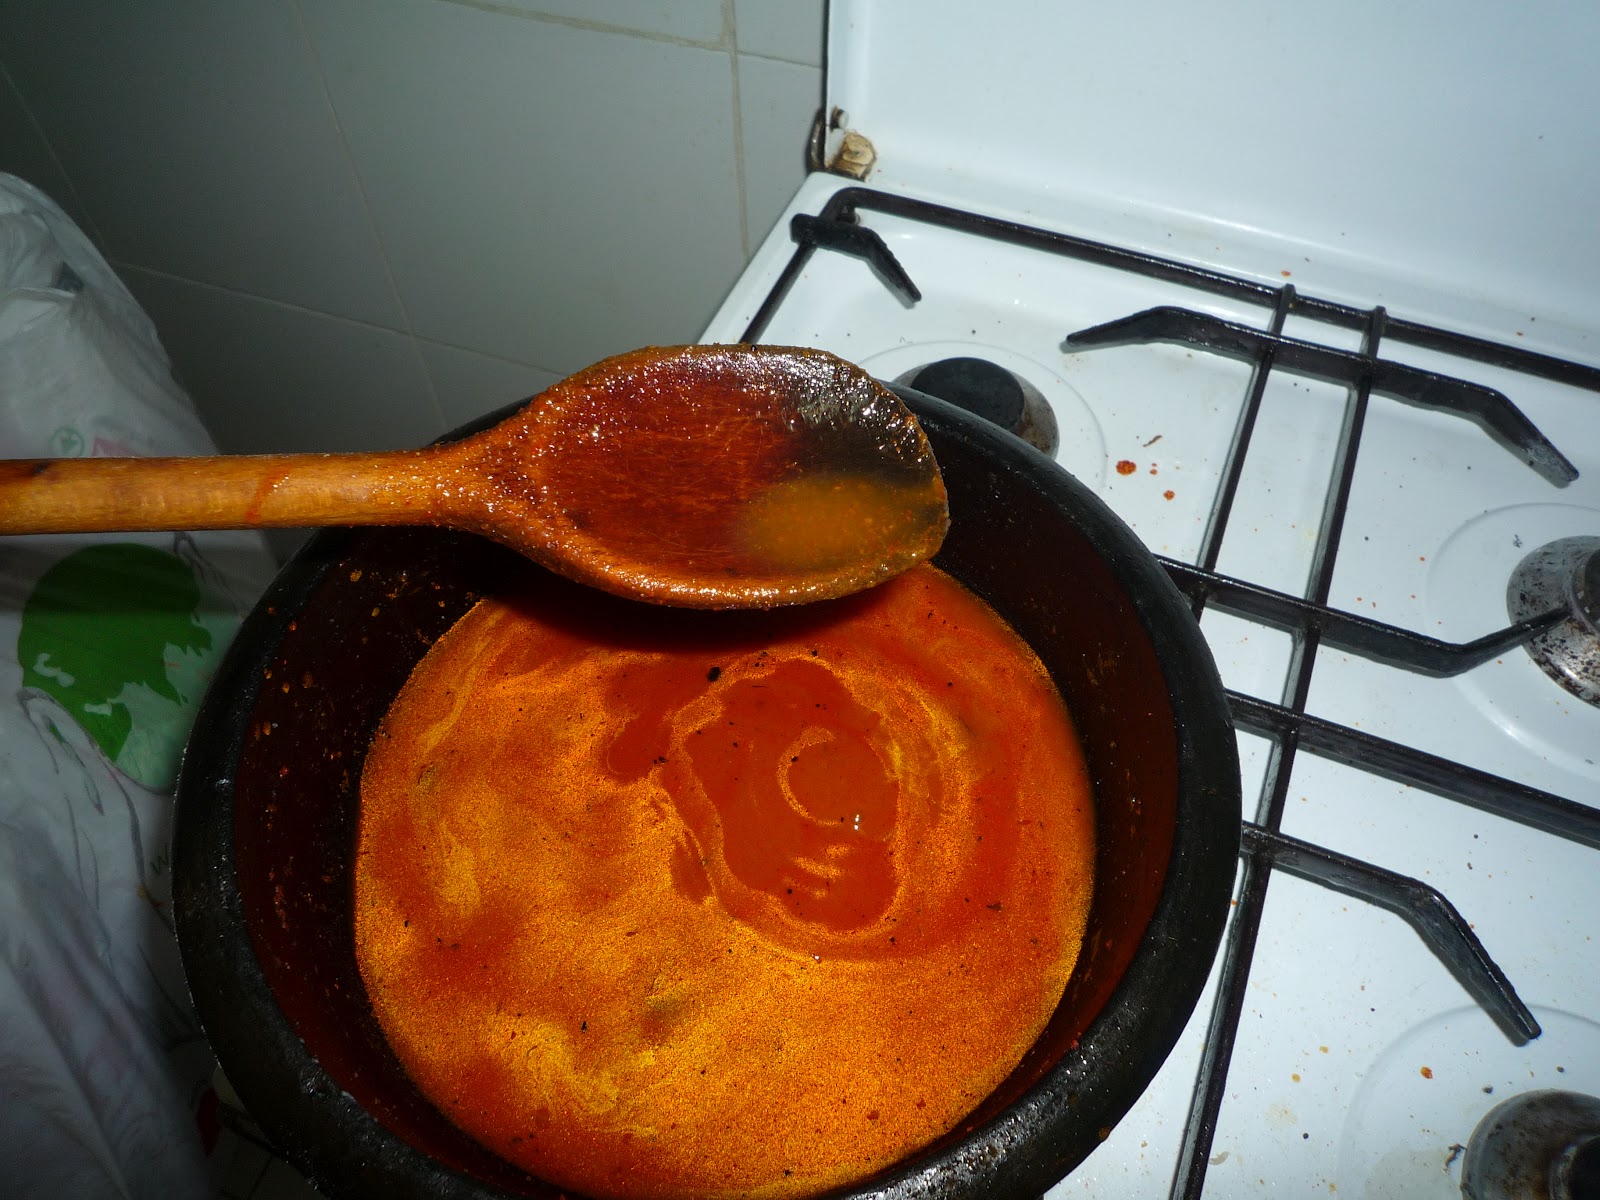
Close up of the Penne Rigate Veggie Soup
Bon Appetit!


Homemade Tomato Puree

There are several ways to make Tomato Puree. I chose the easier make that I have used since last 2 decades. I do buy the canned version however this recipe is useful in case I do not have much time to run to the store and is lighter than the store variety. Also it lacks all the added preservatives in the store-bought version! You can add modifications here where you can add either grated ginger or garlic or dried herbs such as oregano or parsley which will be an added flavour to your tomato puree.

Homemade Tomato Puree 

Ingredients

  • 3  medium sized, fully ripe tomatoes
  • E.g. of one tomato shown
  • 1 bowl of boiling water - just enough to cover the tomatoes
  • Salt, Sugar and Vinegar (optional)
  • Stock cubes, onions, garlic, parsley, etc for extra flavour (optional)


Method

1. Take out the eye of the tomatoes. Run the tip of the knife to make a cross at the bottom of each of the tomatoes.


Tomato crossed out and soaked in boiling water
2. Place the tomatoes in boiling water and allow the skin to wrinkle.


3. Drain and run the tomatoes through cool water. Skin the tomatoes and set aside. You can optionally leave the skin on as some prefer the skin on. You can also optionally de-seed the tomatoes and juice to allow for a thicker puree. It also makes the puree a darker red in colour if you remove the seeds and the juice.

Peeled off tomato with skin set aside
4. Grind the skinned tomatoes into a paste form. Add the same strained water used to boil the tomatoes if required to make a thinner puree, otherwise use as is.


Peeled off after soaking in boiling water
5. Boil the puree and with vinegar, salt and sugar optionally for up to 30 minutes on a low flame depending on the thickness required. 

I have not added any water to the puree and turned out to be thick as was required for one of the recipes I was set to make.

Homemade Tomato Puree


Allow to cool and then bottle or transfer to a suitable container to refrigerate.

I made mine one day in advance but this puree would last at least for 3-5 days (again depending on what you add to the mix, for e.g. if you add  vinegar, it would go on to last for weeks).

Closeup of Tomato Puree


Wednesday 30 May 2012

Traditional Appams ('KallAppam') - (Indian Toddy Pancakes)

'KallAppam'(Toddy Pancakes) - 'Kall' meaning 'Toddy' and Appam looks like pancakes. Appams can also be made as 'VellaAppam' which is made out of sugar and yeast. The Toddy, Sugar and Yeast are used for the fermentation process. We used to make 'VellaAppam' earlier. However due to the side effects of Yeast which was not agreeable to my Dad's diet owing to the side effects of yeast, we discontinued making 'VellaAppam'. Hence began the make of 'Kall'Appams at home. It is tastier and is one of my Mum's creations liked by all her children, family and guests at home.


Cooking Time: 15 minutes|Makes 12 appams|Preparation Time(includes fermentation time):14 hrs

You need:

  • 1-1.5 cups of long grained rice (basmati rice) or raw (white) rice
  • 2 cups of 'Kall' (Toddy)
  • 1 cup of cooked rice (parboiled rice - which is fatter white rice than the basmati or long grained rice and is slightly shorter as well)

Raw Rice
* I will try and add pictures of the different rice types when I can to avoid any confusion

Method:

1. Soak 1-1.5 cup of the rice grains for a few hours(6 hrs - so if you soak it in the morning, you can grind it in the evening).

2. Grind the soaked rice with 2 cups of kallu. Do not throw away the water used to soak the rice grains. You may need it to grind the rice as required to grind the rice to a fine paste.

3. Add 1 cup cooked rice to the mix and grind well. Keep stored overnight. Use in the morning.

In the morning,

4. Heat a non-stick deep bottomed small pan(usually called 'AppamChatti' -(Pancake pan) - you can also get this pot made of iron)

5. Grease the pan with a dipped kitchen paper towel in oil. Repeat this between making each appam.

6. Pour the appam mixture (1/4 cup quantity) using a rounded spoon/ladle in the center of the pan.

'AppamChatti', the rounded spoon, wooden spatula


7. Using the handles of the pan, turn the appam batter in the pan in a clockwise fashion leaving the remaining batter to drop to the center of the pan . You will find the center is thicker than the sides.

8. Lower to medium-low heat and cover with the lid. It is important that you find the right pan(rounded pan or Appam Chatti) to get the desired result.

9.  After about a minute, your first appam should be ready. You will find the center is cooked and not goo-ey and the sides are crisp. Take it out with a wooden or non-stick spatula.

10. Repeat till the batter is used up or required quantity reached. You can also store the remaining batter in the fridge for use on the next day or to make Velaiappams (sweet appams). I will share this recipe with you the next time when I am left with extra batter.

Enjoy the Appams with Fish Mappas or Chicken Stew. Bon Appetit!


King Mappas (Mild Spicy King Fish in Coconut milk gravy)

It was last Saturday evening and I had already started on my preparation for Sunday morning Appams to be served. So ideally since lunch was my King#1. This became a part of our Sunday breakfast. This goes well with thin long grain white rice(Basmati Rice) or Appams. This is a traditional Keralite dish and is also made with Chicken (Chicken Stew).

King Mappas

You need:
Small red onions/shallots
Curry leaves

  • 500 gms of King Fish - clean and cut into medium size
  • 6-8 shallots - chopped
  • 1 onion - thinly sliced
  • Garlic - 6 cloves - crushed
  • Ginger - 1 inch - crushed
  • Green chilis - 4 slit lengthwise in the center only leaving the head and tail intact
  • Tomato - 1 chopped
  • Cinnamon sticks - 1" one piece
  • Mustard seeds - 1/2 tsp
  • Curry leaves - 1 sprig - 6-8 leaves
  • Chili Powder (Kashmiri Chili) - 1 tbsp
  • Turmeric Powder - 1/2 tsp
  • Coriander seeds (Powdered) - 1 tsp
  • Black Jeera or Cumin - powder - 1 tsp
  • Salt to taste
  • Cooking oil - 1 tbsp
  • Fenugreek powder - 1 tsp
  • Cilantro leaves - 1 sprig chopped
  • Thin coconut milk - 1.5 cups
  • Thick coconut milk - 1/2 cup 


The act:

Cooking time: 25 minutes, Preparation time: 15 mins

Spices sauteed with thin coconut milk
1. In a mortar and pestle, crush the ginger and garlic with the shallots and cinnamon stick. Grind the tomatoes with the spices(chili powder, turmeric powder, fenugreek powder, coriander seeds powder, cumin powder and salt to taste).


2. In a clay pot, splutter the mustard seeds and curry leaves.

3. Saute the onions, cinnamon, ginger and garlic and green chilies till translucent.

4.  Add the ground spices and allow to cook (about 5 mins). Add the thin milk and mix well.

Tip:Do not worry if your gravy looks too thin at this stage.
5. Run to a boil and then add the cleaned fish pieces and mix well.

6. Cover and allow to cook (20 minutes). Uncover and check if cooked. Also check on your salt seasoning.

7. Then add the first (thick) milk and allow to heat(not boil) for 5 minutes.

8. Turn off the heat and dress with cilantro leaves.


Your delicious King#3 is ready to be served with Appams or rice. Bon Appetit!

King Mappas
King Mappas served with Appams

King Masala Masaledar (Spicy King Fish in thick gravy)

I was inspired to make this dish as I waned to try out something spicy with the King of the Ocean (no pun intended!). This dish goes well with rice.

Curry Leaves
You need:

  • King Fish - 800 gms - cleaned and cut into medium pieces
  • Onions - 2 medium sized - thinly diced cubes(run your knife both vertically and horizontally to achieve this)
  • Tomato - 1 chopped
  • Green chilis - 2 slit lengthwise in the middle leaving the head and tail intact
  • Ginger - 1 inch
  • Garlic - 5-6 cloves
  • Ground Black Pepper corns - 2 tsp
  • Cilantro/coriander leaves - 1 sprig, chopped
  • Salt to taste
  • Mustard seeds-1 tsp
  • Tamarind pods(de-seeded) - usually used for fish
  • Curry leaves - 1 sprig or 6-8 leaves
  • Oil - cooking oil - 1 tbsp
  • Coconut oil - 1 tbsp
  • Juice of one lime ball size of Tamarind (Traditionally in Kerala the tamarind used is as shown in the image to the right)
*Spices:
  • Cinnamon -1 inch powdered
  • Black Jeera or Cumin - 1 tsp powdered
  • Chili powder - 1 tbsp


The play:

Cooking time: 25-30 minutes, Preparation time: 10 minutes


King Masala Masaledar in claypot
1. Cook the fish in half the tamarind juice with salt and ground black pepper with enough water to barely cover the fish. Do not add too much water as this fish tends to make the water quite milky in texture.
2. Grind the ginger, garlic and chopped tomato with the *spices.
I like to make my fish in a clay pot no matter what the cuisine type as it brings out the flavour in the fish.
3. Heat the cooking oil. Splutter the mustard seeds and add the curry leaves on a medium flame.
4. Saute the onions, green chilis, ground ginger-garlic-tomato paste with the spices till cooked. Add salt to taste.

5. Now add the cooked fish along with the remaining tamarind juice(which was kept aside) and simmer on a low heat till dry.

6. Add the coconut oil and saute well.

7. Top with cilantro leaves and give it one last stir.
Topped with cilantro

Your King# 2 is ready to be served. Serve on the side of rice or as a starter with drinks.
Close up of the King Masala Masaledar

King Grill Steak with Herby-Buttery Pesto


I was inspired to make this dish since our recent visit to Italy. It is a simple but delicious meal for two. My husband (the Taste Master) was impressed with my twist on the traditional pesto (which is normally made of basil, pine nuts and extra olive oil  ground to a creamy texture with hard cheese such as Parmigiano-Reggiano and Pecorino added). We had this 'on the rocks' with beer and made for a delicious and wholesome meal. It goes well with a side of salad, lemon wedges or even toasted bread rolls or garlic bread.

The cast:
  • King Fish fillets - 2 (wt. about 225 gms each or 8 oz each) - cleaned and patted dry
  • Pesto sauce
  • Ground Black Peppercorn - 2 tbsp
  • 6 garlic cloves - crushed in a mortar and pestle or with the back of your kitchen knife
  • 2 tsp olive oil or extra virgin olive oil
  • 2 tbsp parsley leaves (chopped)
  • 100 gms salted or unsalted butter at room temperature
  • Salt to taste (take care if you are using salted butter)
  • Juice of 1/2 lemon


The play:

Cooking Time: 15 minutes, Preparation Time: 20 minutes


1.Take the pesto sauce and mix well in a grinder with the butter. Roll the prepared herby-butter in a cling film (this can be refrigerated for at least 3-4 days in advance). I placed mine in a plastic air tight container to avoid spillage in case of power-cuts which happens often here in India (esp. in summers). Defrost before use.
Pesto Sauce


2. Marinate the fish fillet with lemon juice and ground pepper and crushed garlic(you can also insert the garlic pods in the eye of the fish fillet which is the bone at the center) with salt to taste.

King fish steak marinated and bagged
3. Heat the oven or grill to a high and lower heat. You can place an iron skillet to the oven with a dash of olive oil with the marinated fish fillet and cook on both sides for at least 2-3 minutes. If you are using a grill, lightly dab the marinated fish with the olive oil on both sides and allow to cook at least 2-3 minutes on each side. Make sure when you are taking out the fish on the skillet to use oven mitts or a thick cloth as the skillet handle would be hot!

Layering the marinated king fish in grill pan
3. Add the chopped parsley leaves.Once cooled, transfer the fish contents along with the juices in the skillet(or the juices collected on the tray below the grill) to a air tight sealed bag and refrigerate. You can do this a day in advance. Thaw at room temperature before use.


4. On a skillet, add a drizzle of olive oil and place the thawed fish fillets along with its juices.

5. Turn to the oven for 2-3 minutes on each side and then add a a slice of the herby-butter (to desired thickness) on top of each fish fillet and return it to the oven until the fish is cooked and butter melted. It should take another 3-4 minutes.

6. Do not overcook or fish will return dry. Your King#1 is ready to eat!

Enjoy...Bon Appetit!

King Grill steak with Herby- Buttery Pesto

"Three Kings" - King Fish/King Mackerel in Three ways

I was inspired to make the King of the Fishes - King Mackerel in Three Ways simply because I got a good catch or rather the fish sales delivered a good catch:)

My creation of the Three Kings are as follows:

1. King Grill Steak with Herby Pesto - inspired by our recent visit to Italy


2. King Masala Masaledar (Spicy King Fish in thick gravy) - simply wanted to have something spicy made out with the King of the Ocean - goes well with rice

3. King Mappas (Mild Spicy King Fish in Coconut milk gravy) - goes well with white long grain rice (basmati rice) or Appams (recipe to follow)

For all 3 recipes, an alternate to use could be butter fish. For the steak you can substitute with Groper, Salmon, Tuna or Lemon Fish fillets

'Kall' (Toddy) - for fermentation process for Appams

We used to make the 'VellaAppam' (Pancakes made of yeast and sugar) until it was not agreeable with my Dad's dietary needs owing to the side effects of yeast. Hence began the make of 'Kall'Appams at home. It is tastier and is one of my Mum's creations liked by all her children, family and guests at home.

You need:


  • 2 medium sized boiled potatoes - clean and chopped medium sized with skin on.
  • 1 cup of curd
  • 1/2 cup of sugar
  • Boiled, cooled water 6 cups


Method:

1. Peel off the skin of the potatoes once cooled to room temperature.

2. Add it to the grinder with 1 cup of curd and 1/2 cup sugar. Grind well.

3. Add boiled cooled water to the mix.

4. Transfer the contents to a deep bottomed steel vessel.


5. Leave covered standing for 3 days.


6. Strain the mix, by taking only the upper diluted liquid form. Discard the residual mash at the bottom of the vessel.

7. Pour into sterile and dried glass bottles upto to the neck. Do not fill the full bottle. Secure with a solid cap or cork to avoid bursting in the fridge.

8. Refrigerate and use when required.


Coconut milk extract

You need:


  • Grated coconut (of one medium sized coconut)
  • Boiled cooled water - 2 cups


Method:


1. In a grinding jar, place the grated coconut with half cup of water and grind well.

2. Sieve the coconut and retain the milk. Set aside. This forms the first (thick) milk.

3. The sieved grated coconut goes back to the jar with 1.5 cups of boiled cooled water and ground well.

4. Sieve through and set aside the milk. This forms the second (thin) milk.

*Some recipes calls for three milk stages. In this case, ensure that when you take the second milk, take only 1 cup of boiled, cooled water and then the third milk take 1.5 cups of boiled cooled water.


Pesto Sauce


My Pesto sauce:


Fresh Fenugreek (Methi) Leaves


  • Flat-leaf fresh Parsley- one bunch- chopped
  • Fresh flat spinach leaves - 1 bunch- chopped (*optional - I add it for the nutritional value - a rich source of calcium and iron)
  • Fresh fenugreek (methi) leaves - 1 sprig (*optional - I add it for the nutritional value - antidiabetic properties of both Type-1 and Type-2 diabetes. It is also helps to avoid constipation)
  • Dried basil leaves
  • Extra virgin olive oil - 1 tbsp
  • 3-4 garlic cloves diced
  • Juice and zest of 1 lemon
  • 2-3 tbsp of whole wheat breadcrumbs
  • 1 tsp of black pepper or cayenne pepper


Method:

Pesto Sauce
1. Grind the parsley and spinach in a grinding jar or food processor with the juice and zest of the lemon and olive oil till a creamy paste is formed.
2. Add the remaining ingredients.
3. You can store the above for 5-7 days in a sealed container or cling film in the fridge.

Homemade Whipped Cream


    Whipped cream – made from scratch (Homemade)

  •     Chilled Double cream or heavy whipping cream – 2 cups (or Amul Fresh cream with whey separated) *check Notes
  •     Sugar – either granulated or powdered – 1-1.5 cups (as per taste) or Vanilla Sugar(if available)
  •     Vanilla extract or essence (in case Vanilla Sugar or pods not available) – 1 tsp

     Method to prepare Whipped Cream: 
      
1. Chill a large bowl for at least 30 minutes. Ensure that you are taking a large bowl to allow room for the whipping action.Take the Double Cream, Sugar/Vanilla Sugar,Vanilla extract or essence (in case you are not using vanilla sugar) in the chilled bowl. Keep another bowl full of ice ready to be placed under the large bowl to act as an ice bath. 
  
2. Using a whisk (one with thin wires preferably), you can hand beat the mix till it forms nice creamy texture or peaks. It takes all of a minute to do this. Do not exceed this time as it will then reach into a butter stage. You can also use an electric beater to achieve this. 

 3.  Place it back in the fridge to chill.


Whipped cream done

Notes:
      1. Once the whey is separated, you can use it for curries or pasta sauces etc.
*


Melba Sauce


For the Melba Sauce:

  • 4 tbsp water
  • ½ tbsp corn flour
  •  3-4 tbsp redcurrant jam
  • 3-4 tbsp Raspberry jam
*    * This time I used Strawberry Champagne Preserve (which has a jam like texture – 8 tbsp)


Method to prepare the Melba Sauce:

1. Mix the corn flour in lukewarm water.

2. Slowly melt the jams in a pan while stirring all the time.

3.Add the corn flour slowly, stirring all the time again not to form lumps.

4. Cool in fridge or room temperature

Pouring the Melba sauce to set aside

Tuesday 29 May 2012

Peach Melba


This recipe is one which I tried almost 2 decades ago and then this weekend when I had some friends over for dinner. It turned out to be as much a stunner as it was many years ago! And I recently learnt of course through my favourite MasterChef Australia of the origins of the Peach Melba and of its creator, French Chef, Georges Auguste Escoffier. Peach Melba was made in honour of Nellie Melba, an Australian Operatic Soprano. You can read more of the origins of Peach Melba here

Cast/Characters:
Blanched and chopped Almonds


For the Peach Melba:
Peaches – quartered and deseeded or deseeded and served whole
Ice cream – preferably Vanilla

For the Prepared WhipCream in case you are not using fresh whipped cream:
 Cold Milk
Ready-made whip cream sachet

   
For the Whipped cream – made from scratch (Homemade): http://gginaflavorspalatte.blogspot.in/2012/05/homemade-whipped-cream.html

Cooking Time: 20-30 minutes| Preparation Time: 20 minutes| Serves 4 adults, 1 toddler

Method to blanch almonds:
Add boiling water to the almonds just about to cover the almonds. Leave it for a minute and drain immediately. Run under cold water and drain again. Pat dry, you will find that the skin slips off.  Do not let the almonds sit in the boiling water for too long or it will lose its crispness. You can add the almonds to caramelised sugar to add more flavour to the almonds.

Method to prepare Caramelised Sugar(optional):
Heat a skillet. When warm add granulated sugar about 1-1.5 cups and allow it to melt slightly stirring on a medium flame. Then turn to a low flame and add boiling water taking care not to splash or burn yourself. Stir well and you will find a golden brown translucent texture. Once slightly cooled, add the blanched almonds and take out immediately. It is best to do this process of caramelising and dipping of almonds just before plating up.

Assembling the Peach Melba dish:
      Place the peaches in individual glasses, top with ice cream. Top the glass with the cooled melba sauce, then the prepared whip cream or freshly prepared whipped cream and blanched(and caramalised) almonds. Serve immediately. You can also add a layer of jello above the whipped cream if you like. Bon Appetit. 
     
    My guests enjoyed this dish very much!
Layering the Peaches

Note: (other alternatives)
You can also poach the peaches (if fresh peaches are used), in the melba sauce and lay the poached peach in a bed of ice cream and melba sauce. (see the link image). The one I did was a simpler version of Escoffier's Peach Melba. If you see in the image provided in the link, the peach is served as a whole. What you could do is cut the peach in half, de-seed it and serve it as whole peach on a bed of vanilla ice cream, topped with Melba sauce. OR
Topped with Icecream and Melba Sauce

You could take some cold water in a sauce pan, add powdered sugar/castor sugar and add some vanilla extract or split vanilla pod(lengthwise) and mix well. Then add the peaches cut in half(deseeded -do not bruise the peach while deseeding or add it with the seed and later remove once cooled) and then bring it to a gentle simmer. Turn off and allow to rest for 20 minutes. Then remove the skin and/or the seed and add it on a bed of icecream, top with the Melba sauce and some of the poaching liquid.
Topped with blanched almonds


Thursday 24 May 2012

Dal Tadka(Fry) or Fried Split Pigeon Pea

I decided to start with something simple which is cooked in most Indian households.

Split Pigeon Pea or Toor dal (its Indian name) is a rich source of protein and important amino acids. Coming from a household where healthy foods were cooked, Parippu (Dal in Malayalam) was used to make several dishes including Sambar among others. (*You will find some health titbits in my recipes as I mentioned I come from a health conscious household where my mum was from the health services department so some food types are forbidden at home esp. in mum's pantry :D  )
Dal Tadka served on rice

Having had friends and family from various cultural backgrounds, I noticed that this particular dish was always varying in palate and flavor across diverse households. My particular favourite make of this dish is cooked in South Indian brahmin families (yummm)! I am yet to get the actual recipe from someone in particular(I will share once I have it). 
Dal Tadka goes well with rice of any kind: brown rice, basmati rice  or jeera(cumin) rice being my favourite combination. It also goes well with Chapati (Indian unleavened flatbread) or Roti.
I have experimented with Toor dal in several manners but this one has gained particular applause from both my hubby darling and my 2.4 yr old daughter.


Ingredients:


Ingredients
For the dal:

  • 1 cup of toor dal(Split Pigeon Pea)
  • 21/2 cups of water
  • 1/2 tsp tumeric powder
  • 1/4 tsp asafoetida powder


For Seasoning:
  • 1 tbsp of vegetable oil or sunflower oil or 1/2 tbsp of ghee* (*a form of clarified butter that originated in South Asia(namely: India, Pakistan, Bangladesh and Nepal) and is popularly used in South Asian cuisine. We normally do not use ghee except rarely for dishes consumed by children as it has a high level of cholestrol per tsp.)
  • 1 tsp mustard seeds
  • 1 tsp black cumin seeds(jeera)
  • 1 sprig of curry leaves
  • *  Garam Masala(Hot mixture literally translated) powder- Grind the following to a dry powder: 2-3 cloves, 1” piece cinnamon, 2-3 pepper corns, 1 tsp black cumin seeds (jeera), 1-2 piece of dry red chilies. Tip: You can make this dry mix ahead of time and store for 3-4 weeks in room temperature.
Coriander leaves
  • 1 sprig of finely cut coriander leaves(cilantro) (Tip: if you taste the stem of the coriander leaves once washed, and then taste the leaf, you would find most of the flavour lies in the stem. In India, I notice they sell the coriander leaves with the root whereas in UAE the root is removed before sale even in the vegetable market. Make sure before washing when you take off the root, you leave most of the stem as shown in the picture below. Once clean finely dice the coriander leaves from the stem upwards)
  • 2 medium sized onions or 1 big onion - diced finely (basically run your knife vertically and then horizontally)


Traditional grinding stone (belongsto my grandma)
To grind: my grandma used to use the below traditional grinding stone(it is the actual stone she used - got my Dad to send me the picture). Tip: It brings out the best flavor in grinding both dry and wet spices - ah alas technology:) The below mixture would be excellent if ground on a stone as shown in the image below. These days you get one in a handy size(mortar and pestle) or as part of a table top.

  • 2 small green chillies chopped
  • 1 piece ginger chopped
  • 7-8 cloves of garlic diced(*yes we love garlic and its a great source to lower cholestrol and coupled with asafoetida acts as an antiflatulence agent when consuming legumes and pulses;-) )
  • 1 tsp pepper powder (optional: for those who like a bit more of spice in their food - I find it good when taking more garlic - does something well to the spice mix)
  • 1/4 tsp asafoetida powder
  • 2 tomatoes chopped
  • 3-4 small onions(shallots) as shown to the right
  • 2 tsp coriander seeds (powdered earlier or you can use the ones from off the shelf. Remember to grind it separately or it will not get ground properly with this mix. We get ours freshly ground at the mill when in India. However when I was in UAE, I always bought the ones off the shelf)
  • ½ tsp dry mango powder
  • 1 tsp red chilli powder
  • 1 ½ tsp salt
  • 1/4 cup lukewarm water


The Make:


Cooking Time: 20-25 mins | Preparation Time: 10 minutes|Serves 4 adults

Once you have all your ingredients in place. Start with the dal..

The Dal:
Place the dal in a pressure cooker with the water and the ingredients that goes with it as explained above. Ensure you do not add any salt at this stage as it slow or disables the cooking of the dal. Allow for 2 whistles on high flame and 1 whistle on low flame and turn off the flame. You can start on the seasoning at this stage and come back to the dal once de-pressurised. Once de-pressurised, hand-beat the dal mix with a wooden spoon for a few seconds and set aside.

The Seasoning:
The finshing touches to the Dal Tadka

  • Heat a wok (traditionally we use the clay pot which again has properties to bring out the flavour in your dal - same goes with fish or chicken which I will explain in my other recipes) or a non-stick pan. Add the oil or ghee as preferred. 
  • Once the oil is slightly warm, lower the heat to medium then add mustard seeds and allow it to splutter, add the cumin seeds and curry leaves to follow. After about 10 seconds, add the sliced onions and the dry spice powder(Garam Masala). Toss it around for half a minute. Ensure it does not burn. 
  • Then add the ground wet spice mix and  simmer on a low flame.  Once the masala gets a cooked smell (usually takes about 8-10 minutes on a low flame), add the chopped coriander leaves and mix.  Leave for about 8-10 seconds only so as not to dampen the effect of the coriander leaves.


The Finale
Add the cooked dal mix to the seasoning (usually mum does it the other way around adding the seasoning to the dal but its a pain to clean the masala off my pressure cooker:D ) and let it run to a boil and turn off the flame . If you find your dal too thick for your liking, add some hot water (usually 1/2 a cup does the trick or it turns out to be too watery).

Dal Tadka served over rice


Serve warm with rice or flatbread as per your choice. It also goes well with methi (fenugreek leaves) flatbread and is a healthier choice:) (I will try and add the methi leaves chapati recipe soon)


Hope you enjoy this recipe and do not forget to add your comments or suggestions with this post! Happy Tasting all! Bon Appetit..